A beard trimmer is a must-have electronic device in the millennial’s grooming kit. It lets you trim or shape your beard as per your preference.
However, it is important to use it the right way to achieve the right results.
To help you get nifty with the device, we have provided all the required information in this ultimate guide.
Even if you are new at using a trimmer, this guide will help you get the best out of the beard trimmers.
How to Use a Beard Trimmer?
If you want to learn how to use a beard trimmer, follow the below step-by-step guide. With a little bit of practice, you shall become a professional at using one in no time. So, why wait? Let us get started right away.
1. Choose The Right Beard Trimmer

With a plethora of brands available in the market, it is essential to choose the right tool which is of high quality. Do get lured by the cheapest brands that claim to offer advanced features and the same benefits that a branded trimmer offers. If you want to have a precise shave with more comfort, go for the product from a popular brand.
2. Wash and Dry Your Beard
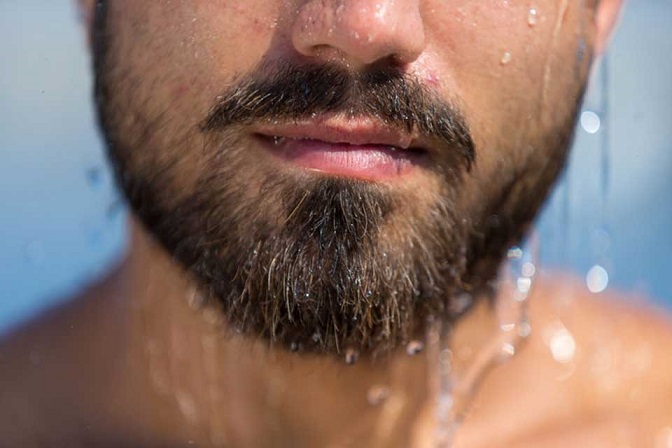
Before you get started with your grooming process, the very first thing you need to do is wash your beard. Use a renowned beard shampoo and not just an ordinary one that you use for your hair. Washing the beard thoroughly is extremely necessary as it will help remove dirt or knots and further prevent an unpleasant shaving experience.
Remember, a clean beard will always be easy to trim and helps your trimmer navigate through it without any difficulty. After you finish washing your beard, make sure you dry it with a towel.
3. Brush Your Beard
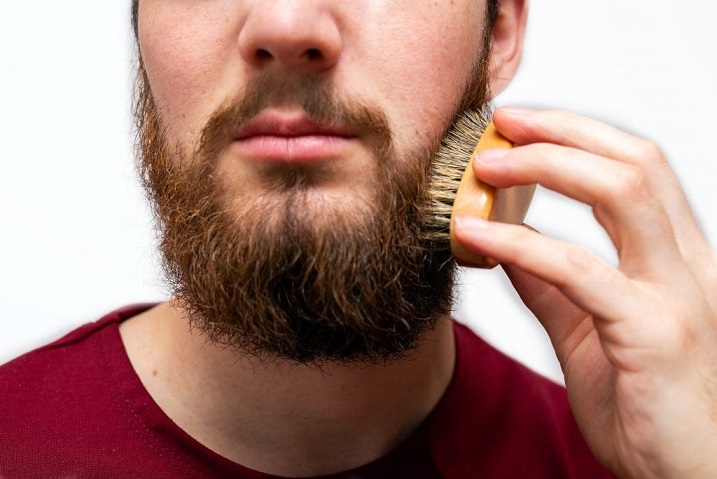
Now that you washed and dried your beard, the next step is brushing. Brush your beard carefully with a comb to prep your hairs for the trimming process. Always brush your beard against the direction of your hair. This ensures all the hairs to stand up and helps in getting an even trim. If you are someone with a longer and thicker beard, this is a not-to-forget step.
4. Set The Trimmer Guard
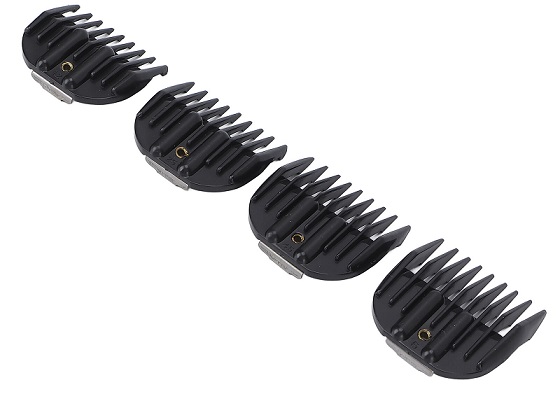
With all the prepping done, you are now set to start the trimming. Before that, adjust your trimmer guard settings to the desired length to get the perfect trim. Make sure you follow the instructions mentioned in the user manual on how to adjust the guard.
However, if you are uncertain about what length you should adjust, we recommend you start with a bit longer. This helps you trim later in case you are not happy.
5. Start with the Neck Area

When trimming the beard, it is advisable to start with the neck area. If you want to trim your beard to perfection, make sure you keep a tidy neckline. Since hairs grow down the face and neck, shave them up against the grain first.
If you want to shave a clean neckline from where you expect your beard to begin, remove the height adjustment tool from your trimmer.
After removing the tool, we now suggest you first shave a little and then have a close look at it. Pay attention to yourself in the mirror when doing this. You may get carried away easily when trimming your beard and may end up taking too much. To ensure this does not happen, take it step-by-step and slowly. If you happen to take off too much, do not worry. The hair on the neck grows very quickly for most men. So, just wait until it grows and then try again.
6. Set a Clear Line on Your Cheeks
After your neck area, come to the cheek line, as it is the crucial part of the beard that decides your overall look and style.
It is up to you to decide whether you want to have a full beard, extending on the top of the cheeks or have a cheek line that is a little lower.
If you decided to define a cheek line, this is what you should do. Firstly, remove the height adjustment tool from your trimmer.
After removing the tool, follow the similar process as you did with your neckline. We suggest you trim downwards a little on the cheek and then have a close look at it. Pay attention to yourself in the mirror when doing this. You may get carried away easily when trimming your beard and may end up taking too much. To ensure this does not happen, take it step-by-step and slowly. The hair on the cheeks does not grow very quickly, as it does on the neck. So, you need to be careful when trimming to avoid any catastrophe.
7. Define Set Lengths For Your Cheek Hair
No doubt a full beard looks great and gives that bold look to men, but a trimmed beard with a set cheek line looks better and tidier. Once you finish setting a line, there are a few things you should pay heed to. These include having varying lengths for the other parts of your facial hair and maintaining a contoured look on your face.
Let us say, you have set a 2mm length difference between your cheek hair and the jawline. While it may seem negligible, it will certainly have a significant impact on the overall appearance of your face.
To set definite lengths for your cheek hair and the jawline, adjust the trimmer to the longest settings for both areas. Now start trimming the hair on the jawline and the cheek on one side. Repeat the same on the other side of your face.
Now revamp the settings by lowering it to 2mm, and shave the upper area of your beard. (closer to the cheeks)
8. Trimming the Chin
The next step is trimming the hair in the chin area. However, since this is a personal preference, you can either opt for it or just skip it. We suggest you trim your chin hair to a little longer than the length of hair on the neck, jawline, and cheeks. To be precise, set your trimmer to 2mm and 4mm for your jawline and cheek line, respectively.
You might ask us about the significance of doing this. Let me tell you something. This will create a more defined look for your beard. However, you do not have to do it. You can even try several other beard styles that will highlight different sections of your face.
After finishing this, do not forget to comb your beard using a high-quality beard brush to ensure there are no loose hairs left over. This will further enhance your beard style.
9. Tackle Your Mustache
Now that you finished trimming your beard, it is time to style your mustache. A good mustache can complement your beard, giving you a perfect look.
As a first step, neatly comb your mustache downwards. Now use the same beard trimmer to detangle the hairs over your lip.
Your mustache hair needs to be longer if you want it to remain flat against your face. Adjust the length of the height guard by increasing it and then start trimming.
10. Clean Your Beard Trimmers
Once you successfully finish trimming your beard, it is essential to clean them to sustain their performance and increase their lifespan. Moreover, the hair stuck in the blades will damage them, affect the mechanism, and even shortens their life. We suggest you oil the blades frequently to retain their sharpness and effectiveness.
How to Clean and Maintain a Beard Trimmer?
As mentioned earlier, you need to clean and maintain your beard trimmer to ensure its efficacy and also prevent your skin from infection when using it. We bring you some tips to help you take care of your beard trimmer.
1. Clean Your Guards
As a first step in the cleaning process, remove the guards on your trimmer and place them in the sink for washing. Use water and soap to rinse them thoroughly. Now, rinse them with warm water to get rid of any tiny hair stuck in the guards.
2. Clean Your Trimmer
Remove the clippers by detaching their head from the handle. Use the brush that came along with your trimmer for cleaning the hair stuck to the trimmer.
- Use your thumb to push the blade head of the trimmer upwards. Once you disconnect the blades from the appliance, you can hear a pop-up sound. Pull the blade head from the handle.
- Use a cotton swab to clean between the blade grooves.
- Once you finish removing hair, reattach the blade head on the clipper and try running it for a few seconds. If there is any loose hair left over, it will shake them off.
- You can run your trimmer underwater as well, provided the device is waterproof. If it is not, avoid running it underwater as it can destroy the trimmer cause the blades to rust.
3. Oil Your Trimmer
It is essential to lubricate your trimmer after each use. This is how you can do it.
- Hold your beard trimmer over the sink.
- Put a few drops of oil onto the blades.
- Now, run the trimmer for about 20 seconds.
Below are the advantages of oiling your trimmer:
- Oiling the trimmer allows its blades and motor to stay lubricated.
- Lubricating further ensures the longevity of the product and its peak performance.
Take a paper towel or cloth to wipe the excess oil on the clippers.
Conclusion
To conclude, using a beard trimmer is not rocket science. All you need to have is a little knowledge of the product. I hope the ultimate beard trimming guide, packed with tips will help you trim your beard skilfully with your preferred style. What are you waiting for! Try them now to master the art of manscaping and create that stubble look.
If you want more information on how to maintain your beard, write to us in the comments section below. Let us know if you tried the tips mentioned in this article.

One Response
Very helpful article, thanks!